Quick and Simple Guide to Facebook Video Subtitles
Facebook users tend to watch video most frequently in public spaces. This may be while they are on the bus, sitting in class, in the waiting room of the doctor’s office, or anywhere else where they have free time on their hands. Watching these videos with audio is often a poor option, due to the risk of irritating other people. This makes subtitles critical, as many users rely on them.
Facebook has an auto-generated option for subtitles when you upload a video to your page. However, these automatically generated subtitles often aren’t the greatest and you have no option to edit any errors that may occur.
The best option for adding subtitles when uploading a facebook video is to get yourself a SubRip Subtitle (SRT) file and upload that along with your video.
Let’s look at this very simple process.
Get the SRT File
The most common way to include subtitles in your videos is by using a Subrip Subtitle (SRT) file. These files include the text for your subtitles and information on where in the video they should be placed. The easiest way to generate this file is with a third-party transcription service, such as Transcribe by Wreely. This is the software we will be using in this guide all along the way.
The Transcribe software provides both manual and automatic transcription options. As with any automatic transcription service, there is bound to be an occasional mistake when the audio is unclear, but Transcribe has a 90%+ accuracy rate. There is also a manual transcription option, but we’re going to skip that one in favor of automatically generating our subtitles.
Step 1
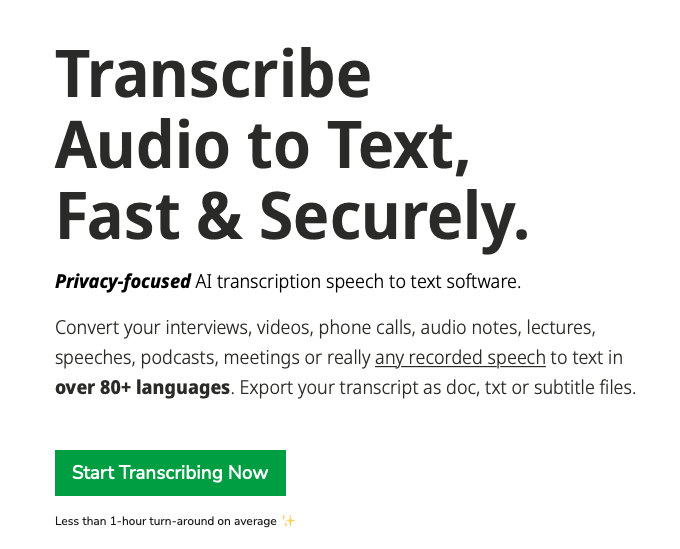
The first step to getting started with your transcription–after signing up for a Transribe account– is to click on the button that says ‘Start Transcribing Now’ from the homepage.
Step 2
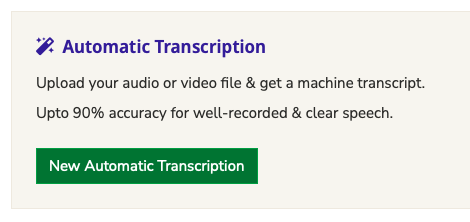
Next, you will be given the option to choose between manual and automatic transcription. On this screen, select the button for automatic transcription.
Step 3
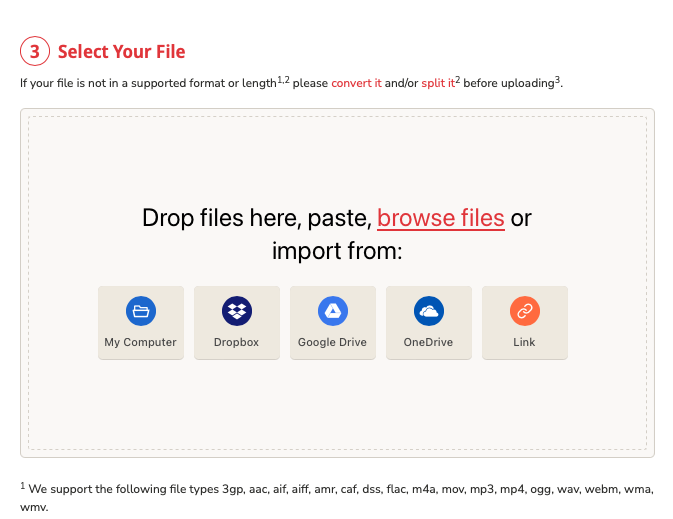
Now that you’ve chosen to begin a new automatic transcription, you will choose your transcription language and the options you want included. These options include timecodes, speaker tags, custom dictionaries, and subtitle formatting. You can choose whichever options you prefer, but including timecodes is highly recommended. Also, for the final option, check the box for subtitle formatting and select SRT for the format.
The last thing you will need to do on this screen is to upload your video file. This can come from your hard drive, or you can pull it in from a number of different cloud services such as Google Drive and One Drive.
Step 4
Depending on the length of your video, the upload process could take some time. As soon as the upload is complete, your automatic transcription will begin. Most transcriptions are complete in under an hour, and obviously the shorter the video the faster it will be. If you look in your dashboard, your list of transcription jobs shown. The new one will say “Processing” until transcription is complete.

When transcription is complete, you will receive an email notification and the status will update to ‘Ready.’
Step 5
Now that your transcription is complete, simply click on the project to view the results of the automatic transcription. If you’re satisfied with the results, simply click the button for ‘Export Transcript’ on the right side of the screen. This will download your SRT file.
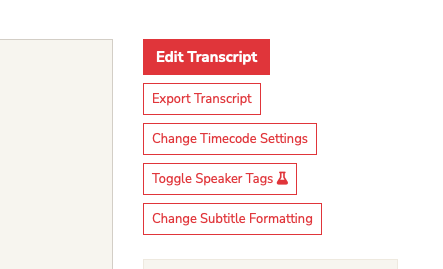
If there are some errors in the transcript, which can occur due to poor audio quality, you can instead click ‘Edit Transcript.’ This will allow you to edit any errors you spot in the integrated text editor.
Once you have fixed any errors, you can download the SRT file using the button in the text editor tool bar, as shown below.

Upload a Video to Facebook With Subtitles
Facebook is one of the simplest platforms out there for adding subtitles. The whole process can be accomplished in a matter of a minute with very few steps now that you have your SRT file and video file handy.
Step 1
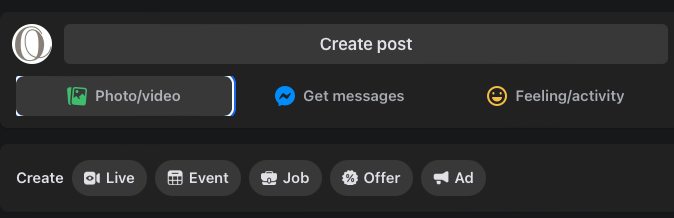
The first thing to do is begin the video upload process. Go to your Facebook page, and under the ‘Create Post’ button click where it says ‘Photo/Video.’
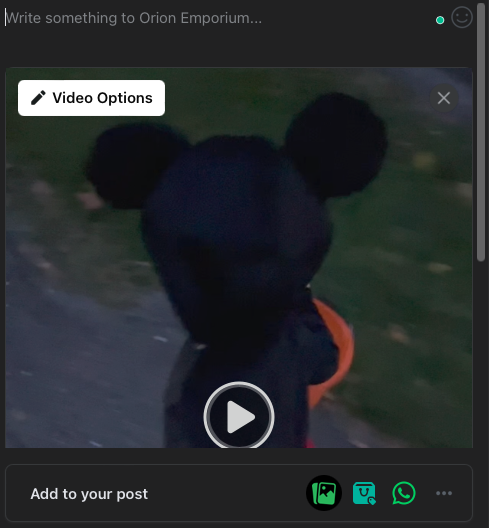
Select your video file and you will be presented with a window with a section to add a caption, a preview of your video, and a few other options. The important part to notice is in the upper-left corner of the video preview, you should see ‘Video Options.’ Click it.
Step 2
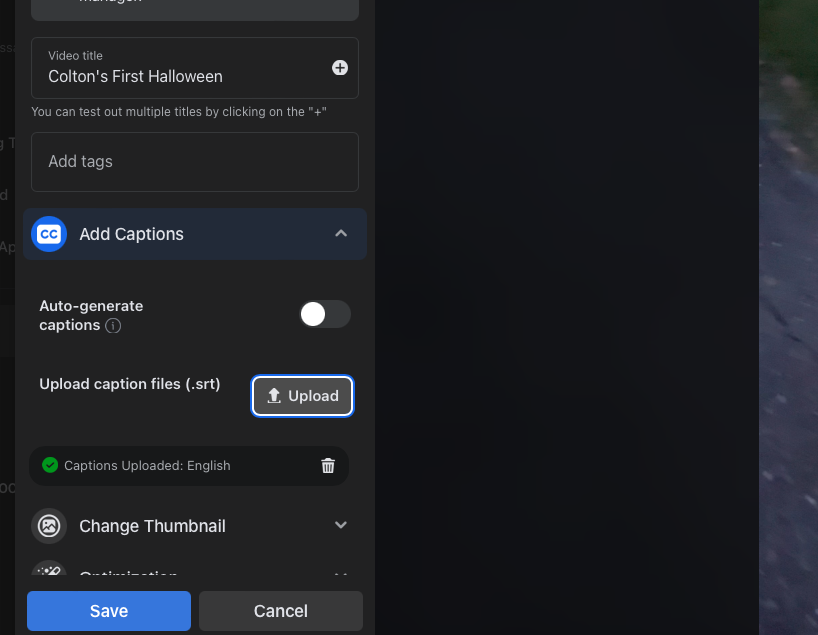
Under video options, you will want to give your video a title and possibly even add a few tags. The next section, in big bold letters, is ‘Add Captions.’
Click on ‘Add Captions’ and you’ll notice that the default option select is to auto-generate the captions. Toggle this option off, and instead click below this where it says ‘Upload caption files.’
One important note here is that Facebook is very particular about the naming convention of your SRT file. You must give it a name with the following format: ‘Filename.en_US.srt.’ Filename of course is whatever you want to name the file, but the important part is including the language in exactly the format shown here.
As long as you’ve correctly named your SRT file, you can now upload it then click ‘Save.’.
At this point you will be returned back to the previous screen where you can simply click ‘Post’ at the bottom and your video will be shared to Facebook; subtitles included!
Final Thoughts
Not all users will see your subtitles, but the user base who watches subtitled videos only is large enough to warrant the small amount of time taken to add them to your Facebook video. You could of course choose the auto-generate subtitle option, but with a professionally transcribed SRT file that you’ve been able to fix any errors in, you’re assured a more accurate result. Also, having the SRT file to begin with is a great option for when you add the videos to other platforms.
About this Guide
This is an attempt to build the definitive guide on various topics related to dictation, transcription & recording.
Start Transcribing Now Guide Home