How to convert WAV to text in 2026 (used by 50,000+ happy users)
Transcribe uses machine learning to analyze and transcribe your WAV audio files to text fast.
Automatically convert WAV file to text in minutes
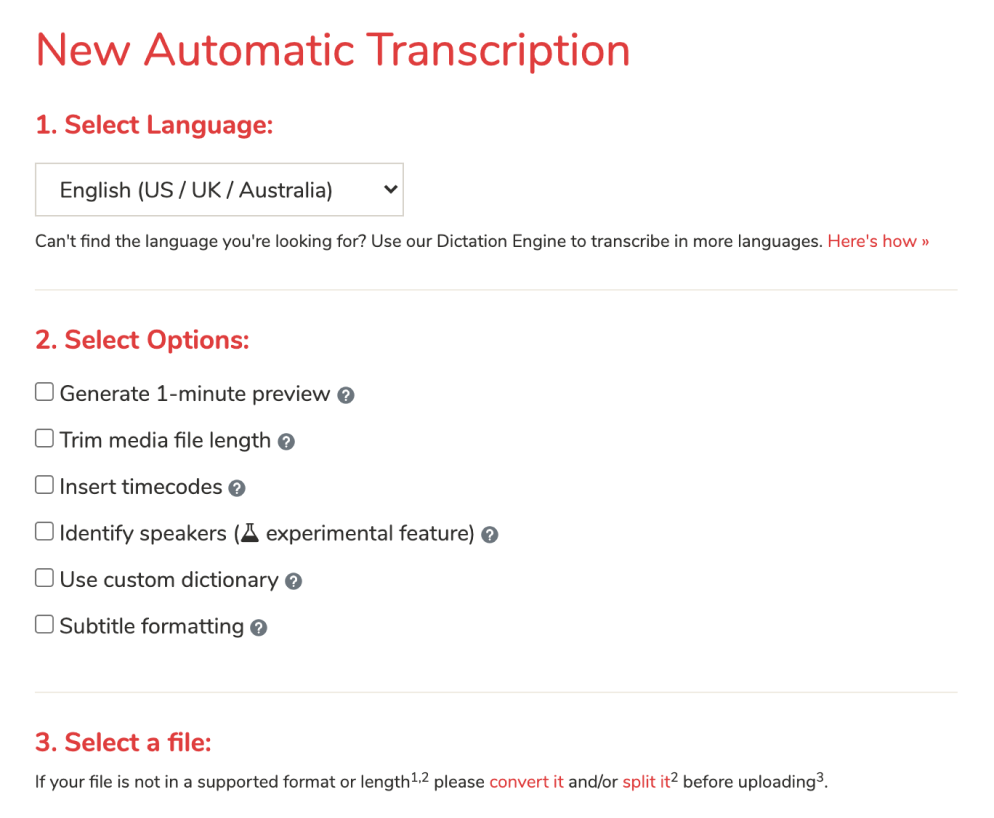
1. Click on "New Automatic Transcription"
This will load a page where you can upload your WAV file. First, customize your transcript by choosing the timecode insertion interval, start/end positions and speaker identification.
Once you're ready, click on the "Upload File" button to select the WAV file that you want to upload for convertion.
Learn more about automatic transcription.

2. Wait for the audio to text conversion to finish
When your transcript is ready, you will receive an email with a link to your transcript.
Click on the "Edit" button on the sidebar to load the transcript in Transcribe's integrated editor + player for further editing.
3. Edit your transcript
Click on "Choose audio/video" to select the WAV file again (due to privacy reasons we don't store your WAV file on our servers).

Once you choose the file, an audio player will open up right above the text editor.
4. Control the playback of the WAV file
Transcribe provides handy keyboard shortcuts to control the playback of the audio. For example, you can slow it down, rewind or skip forward using these shortcuts.
- Esc: pause/resume
- F1: slow down
- F2: speed up
- F3: rewind 2 seconds
- F4: forward 2 seconds
- F6: insert timestamp
5. Listen to the audio and edit the transcribed text
Transcribe's tightly integrated player + editor makes it really easy to listen to your audio and make edits on a single screen, without juggling between a media player and a Word editor.

You can speed up or slow the audio down, listen to it and just type along. Be sure to use the handy keyboard shortcuts mentioned in Step 4 to effortlessly control the audio playback to match your typing speed.
Transcribe will auto-save every keystroke. The transcribed text is stored in your browser and is not sent to our servers. This data is persisted even if you restart your browser or computer as long as you don't clear your browser's cookies or cache.
6. Export your transcript
When you have finished editing your transcript, you can download the transcript as a MS Word document file to your computer by clicking on the export icon in the toolbar above the editor.