How to Add Subtitles to Your Youtube Videos
According to a study done by Verizon Media and Publicis media, 80% of survey respondents were more likely to watch a video to the end if there were subtitles. This is a staggering statistic and should be all the motivation you need to add subtitles to your online videos. The process is quite simple, so there is really no excuse these days to not have subtitles on any video that contains speech.
In this guide, we will focus on adding subtitles to YouTube videos. There are several different ways you can add subtitles to your YouTube videos, but we are going to focus on the easiest and least time-consuming method.
There are three key steps:
- Generate a SubRip Subtitle (SRT) file.
- Upload your video to YouTube.
- Import your SRT file to your YouTube video.
Let’s get started.
Get the SRT File
The most common way to include subtitles in your videos is by using a Subrip Subtitle (SRT) file. These files include the text for your subtitles and information on where in the video they should be placed. The easiest way to generate this file is with a third-party transcription service, such as Transcribe by Wreely. This is the software we will be using in this guide all along the way.
The Transcribe software provides both manual and automatic transcription options. As with any automatic transcription service, there is bound to be an occasional mistake when the audio is unclear, but Transcribe has a 90%+ accuracy rate. There is also a manual transcription option, but we’re going to skip that one in favor of automatically generating our subtitles.
Step 1
The first step to getting started with your transcription–after signing up for a Transribe account– is to click on the button that says ‘Start Transcribing Now’ from the homepage.

Step 2
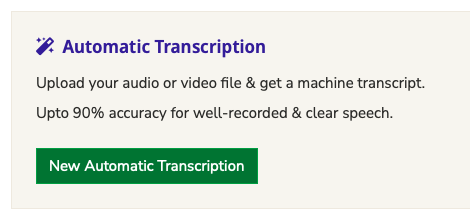
Next, you will be given the option to choose between manual and automatic transcription. On this screen, select the button for automatic transcription.
Step 3
Now that you’ve chosen to begin a new automatic transcription, you will choose your transcription language and the options you want included. These options include timecodes, speaker tags, custom dictionaries, and subtitle formatting. You can choose whichever options you prefer, but including timecodes is highly recommended. Also, for the final option, check the box for subtitle formatting and select SRT for the format.
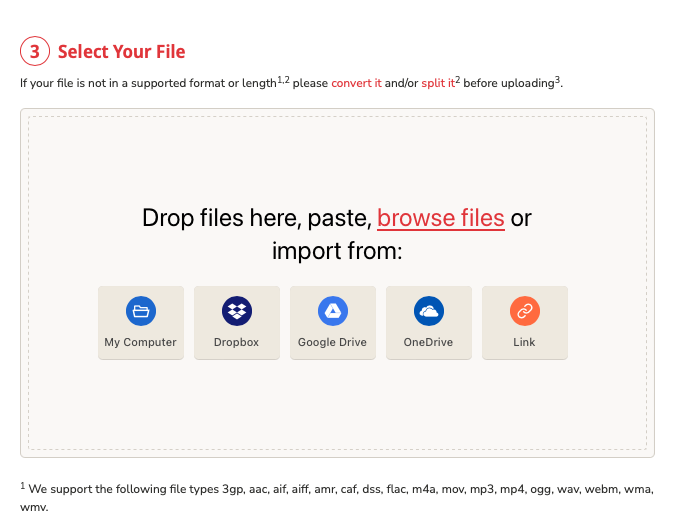
The last thing you will need to do on this screen is to upload your video file. This can come from your hard drive, or you can pull it in from a number of different cloud services such as Google Drive and One Drive.
Step 4
Depending on the length of your video, the upload process could take some time. As soon as the upload is complete, your automatic transcription will begin. Most transcriptions are complete in under an hour, and obviously the shorter the video the faster it will be. If you look in your dashboard, your list of transcription jobs shown. The new one will say “Processing” until transcription is complete.

Step 5
Now that your transcription is complete, simply click on the project to view the results of the automatic transcription. If you’re satisfied with the results, simply click the button for ‘Export Transcript’ on the right side of the screen. This will download your SRT file.
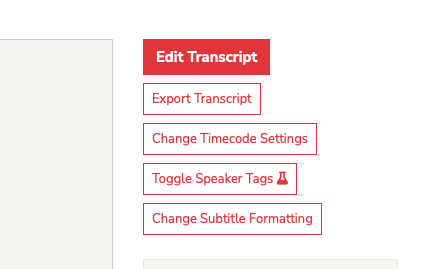
If there are some errors in the transcript, which can occur due to poor audio quality, you can instead click ‘Edit Transcript.’ This will allow you to edit any errors you spot in the integrated text editor.
Once you have fixed any errors, you can download the SRT file using the button in the text editor tool bar, as shown below.

Add Subtitles to Your Youtube Video
Now that we have the transcription in the SRT file, you will upload our desired video to Facebook and add the subtitles.
Step 1
Go to Youtube Studio to start the process, at studio.youtube.com. Login to your account if prompted.
At this point, you should see your channel dashboard. If your video is already uploaded, navigate to the ‘Content’ tab on the left side of the window, and click the “Edit” icon next to the video that needs subtitles.

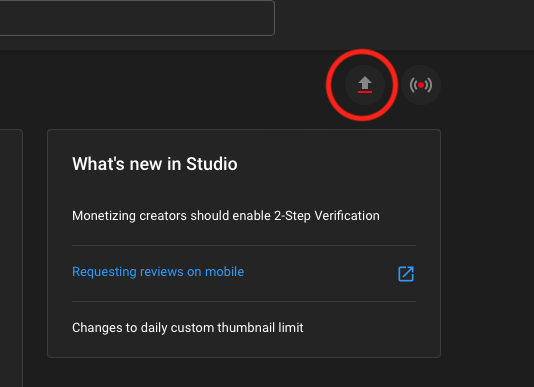
If your video still needs to be uploaded, then simply navigate to the ‘Dashboard’ tab on the left-hand side of the window, then click on the Upload Video icon to the upper-right.
Click ‘Select Files’ in the window that opens, and choose the video file that you want to upload.
Step 2
At this point, you should be looking at the same window whether you are editing an existing video or are uploading a new one. The only difference is if you are editing, most of the video information will already be filled in.
If you are uploading a new video, your window will be blank. Fill in all of the relevant information such as Title, description, thumbnail, etc.
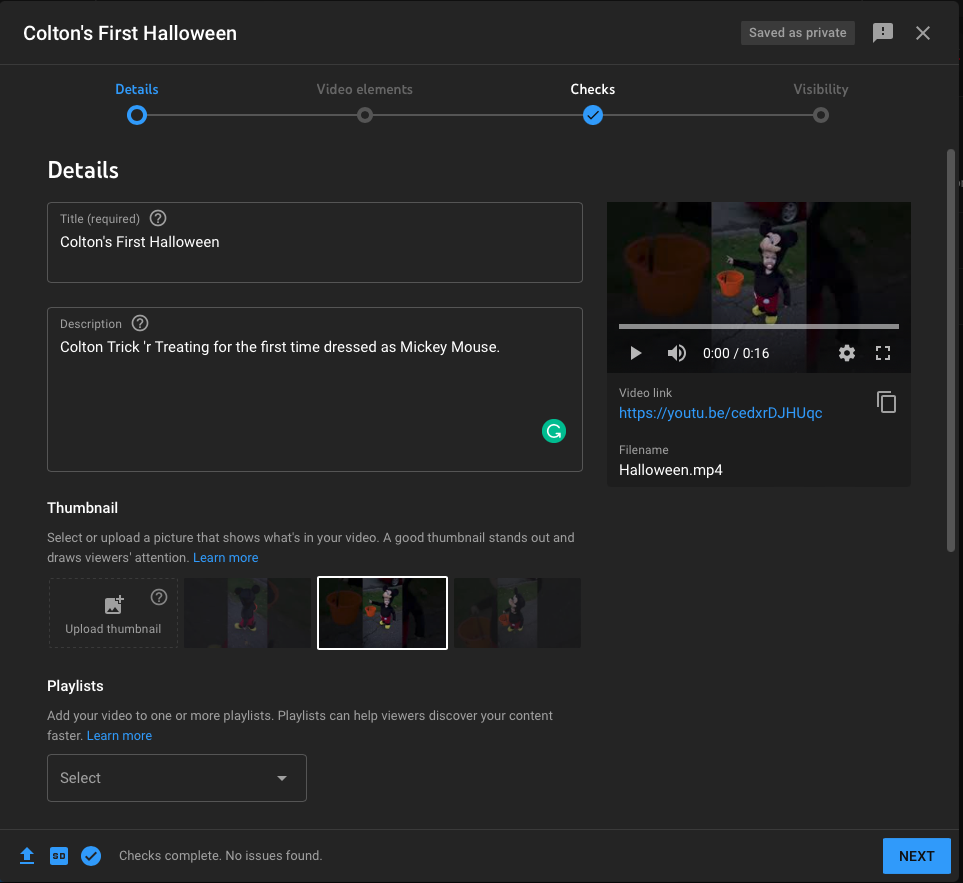
Click ‘Next’ at the bottom right to continue to the next step.
Step 3
You should now be looking at a window with an option that says ‘Add Subtitles’ with an ‘Add’ button to the right. Click the button.
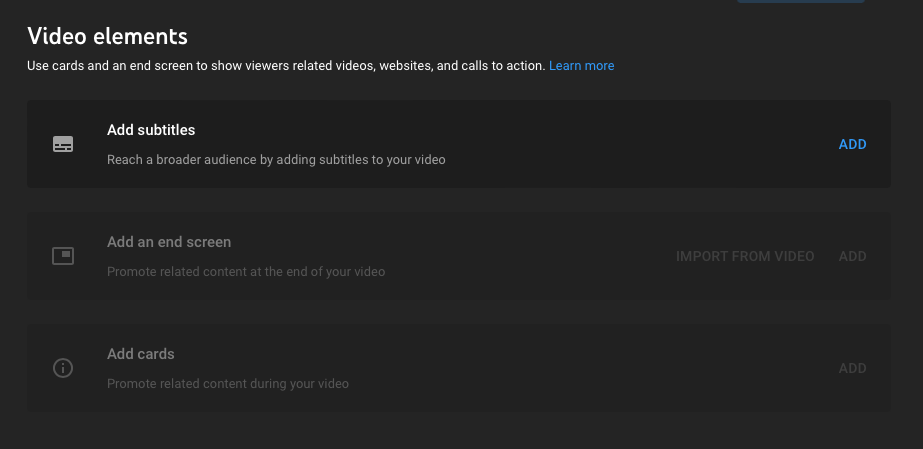
You should now be looking at a screen that gives you several options for adding your subtitles/captions. In our case, since we have generated the SRT file to use, we want to select the ‘Upload File’ option.

At this point, you will be prompted to choose with or without timing. Choose with timing, then when the file explorer window opens, choose your SRT file.
Once the file has been uploaded, your subtitles should be imported! Simply click the play button in the video preview to the right so you can confirm the subtitles were pulled in.
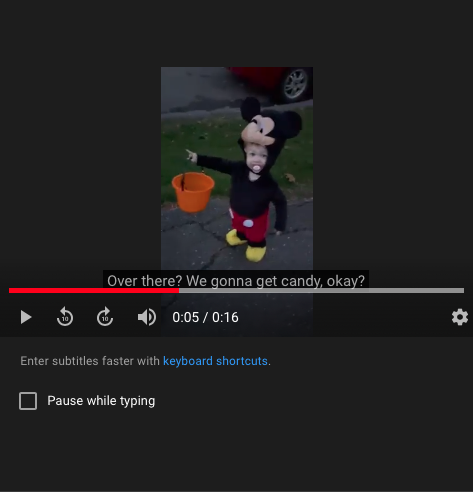
That’s it! If your subtitles appear to be working, simply click ‘Done’ in the upper right and the subtitle tool will close, bringing you back to the video upload dialog. Simply continue through the rest of this process, which is very self-explanatory, and your video will be published. And now it has subtitles!
Final Thoughts
Adding subtitles to your YouTube videos is very straightforward. The primary component to ensure that the subtitles are accurate is an SRT file, which can be generated by a high-quality transcription software such as Transcribe.
Once you have this SRT file, the process is as simple as uploading or editing your existing Youtube video, then uploading the SRT file which already contains the timestamp information.
About this Guide
This is an attempt to build the definitive guide on various topics related to dictation, transcription & recording.
Start Transcribing Now Guide Home