Guide to Automatically Creating Subtitles from an Audio File
Sometimes, you have just an audio file and you need a transcription. Perhaps you are adding transcription to a blog post, or snippets into an article you are writing. Maybe you have the video file too, and are planning to use just the audio to generate your subtitles to then merge into the video.
Regardless of the situation, there is a quick and simple way to get accurate transcription from only an audio file. What we really want to generate is a SubRip Subtitle file or SRT. That way, if you choose to add it into a video format at a later date, this becomes much simpler.
Create an SRT File from Audio
The easiest way to complete this job is with high-quality transcription software. In this example, we are going to use Transcribe by Wreally, which is a transcription service where you can upload your file to either manually or automatically create your subtitles.
If you haven’t already, head over to the Transcribe website at the link above, and sign up for an account. There are paid options, and also a free option that will give a one-minute preview. Feel free to start with the preview to see how you like the software, then subscribe once you’ve seen the accuracy meets your expectations.
Step 1
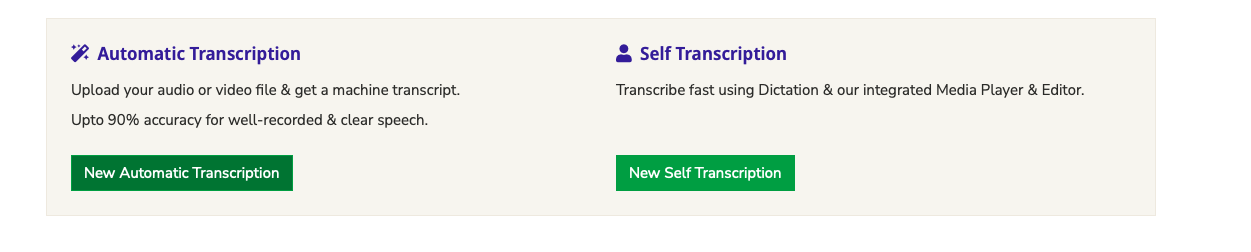
Now that you have a Transcribe account, you want to click on ‘New Automatic Transcription’ near the top of the screen.
This will bring up some options that we will need to select.
Step 2
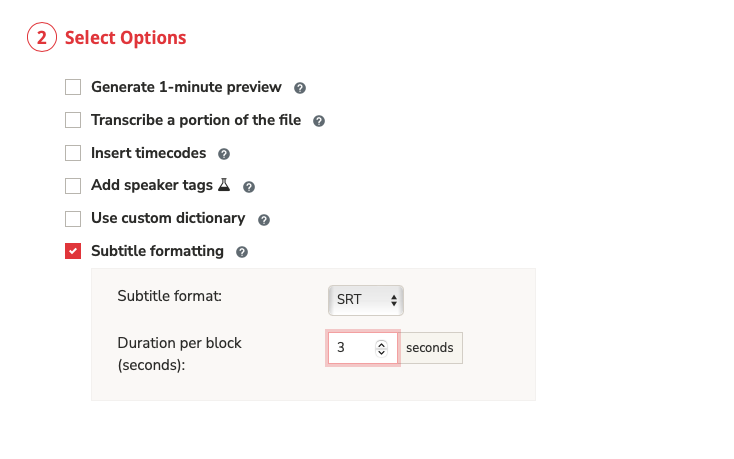
There are really three things to do on this next section.
First, select your language. The second step on this page gives a few different options to choose, but the only thing we need to worry about too much here–unless you’re on the trial and want to select the one-minute preview–is the ‘Subtitle Formatting.’ Check the box next to this option, and from the drop-down menu choose SRT for the file type.
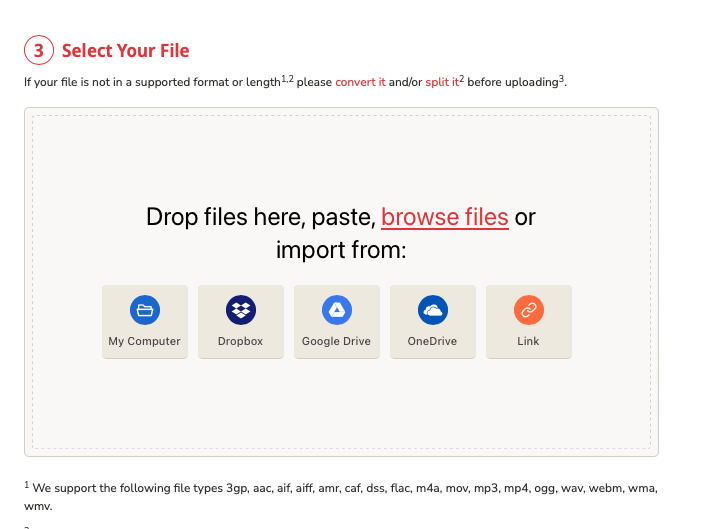
Now you just need to upload your MP3 or other audio file using the ‘browse files’ link. See below.
Step 3
After you’ve uploaded your file and it finishes uploading, you should be re-directed back to your transcribe dashboard. It may take a while for your file to process, but just refresh the page after a few minutes and it should be done.
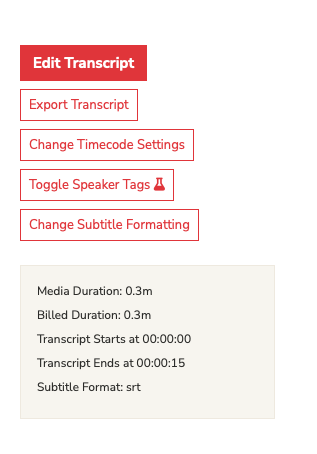
Click on the file, and you will see the transcript that was automatically generated. If all looks good and no changes are needed, simply click ‘Export Transcript’ on the right-hand side of the window. If you do see some errors that you would like to clean up, you can instead click ‘Edit Transcript.’
If you’ve chosen to export the transcript, you are done and your SRT file has been downloaded!
If you chose to Edit, then you will be presented with a text editor where you can correct any issues. When you are satisfied, you can export the transcript by clicking the ‘Download Document’ button at the top of the text editor. This button is a downward pointing arrow, as seen below:

Final Thoughts
That’s all there is to it. You’ve just created an accurate transcription automatically, based solely on an MP3 audio file. This same process can be used for a variety of video formats as well as audio formats.
Transcribe’s automatic transcriptions are highly accurate, but of course, the quality of the audio makes a big difference. If the auto quality is poor, you may be better off choosing the manual route, which is also a powerful tool offered by Transcribe.
About this Guide
This is an attempt to build the definitive guide on various topics related to dictation, transcription & recording.
Start Transcribing Now Guide Home