Guide to Adding Subtitles to Vimeo Videos
Vimeo is one of the most popular video platforms in the world, outside of YouTube. The site sees a lot of traffic, and if you want to get eyes on your videos you may want to give it a shot. Or maybe you’re already on the platform and I’m telling you something you already know.
In any case, an important aspect of posting online videos is the availability of subtitles. Many users will not watch an entire video when they realize there are no subtitles available, due to either being in a public or noisy setting. Whether you’re posting to YouTube or Vimeo, it’s critical that you add subtitles.
This is fairly straightforward to do with Vimeo. All it requires is an SRT file, which is a SubRip Subtitle file. After this, the process is simple.
Let’s dive in and first learn how to generate the SRT file, and then how to upload a video to Vimeo to add subtitles.
Get the SRT File
The most common way to include subtitles in your videos is by using a Subrip Subtitle (SRT) file. These files include the text for your subtitles and information on where in the video they should be placed. The easiest way to generate this file is with a third-party transcription service, such as Transcribe by Wreely. This is the software we will be using in this guide all along the way.
The Transcribe software provides both manual and automatic transcription options. As with any automatic transcription service, there is bound to be an occasional mistake when the audio is unclear, but Transcribe has a 90%+ accuracy rate. There is also a manual transcription option, but we’re going to skip that one in favor of automatically generating our subtitles.
Step 1
The first step to getting started with your transcription–after signing up for a Transribe account– is to click on the button that says ‘Start Transcribing Now’ from the homepage.

Step 2
Next, you will be given the option to choose between manual and automatic transcription. On this screen, select the button for automatic transcription.

Step 3
Now that you’ve chosen to begin a new automatic transcription, you will choose your transcription language and the options you want included. These options include timecodes, speaker tags, custom dictionaries, and subtitle formatting. You can choose whichever options you prefer, but including timecodes is highly recommended. Also, for the final option, check the box for subtitle formatting and select SRT for the format.
The last thing you will need to do on this screen is to upload your video file. This can come from your hard drive, or you can pull it in from a number of different cloud services such as Google Drive and One Drive.

Step 4
Depending on the length of your video, the upload process could take some time. As soon as the upload is complete, your automatic transcription will begin. Most transcriptions are complete in under an hour, and obviously the shorter the video the faster it will be. If you look in your dashboard, your list of transcription jobs shown. The new one will say “Processing” until transcription is complete.

Step 5
Now that your transcription is complete, simply click on the project to view the results of the automatic transcription. If you’re satisfied with the results, simply click the button for ‘Export Transcript’ on the right side of the screen. This will download your SRT file.

If there are some errors in the transcript, which can occur due to poor audio quality, you can
instead click ‘Edit Transcript.’ This will allow you to edit any errors you spot in the integrated text editor.
Once you have fixed any errors, you can download the SRT file using the button in the text editor tool bar, as shown below.

Adding Subtitles to a Vimeo Video
Now that we have our SRT file, we are ready to move on to working in Vimeo. If you do not have an account yet, you will want to go to Vimeo.com and create one before moving ahead with the rest of this guide.
Step 1
Once you are logged into Vimeo, click on blue ‘New video’ button and choose ‘Upload’ from the dropdown. Then select the video that you’d like to work with.

The upload process can take some time if your video is large, and even once it is uploaded it may take additional time to transcode. Just refresh the page occasionally until the “Transcoding” message under the video disappears.
Step 2
Once the video is uploaded and transcoded, click on the thumbnail for the video from your dashboard to open it. This will launch the video in a new tab, and a toolbar on the right side of the window will give you some options. The one we want is the last option: Advanced.
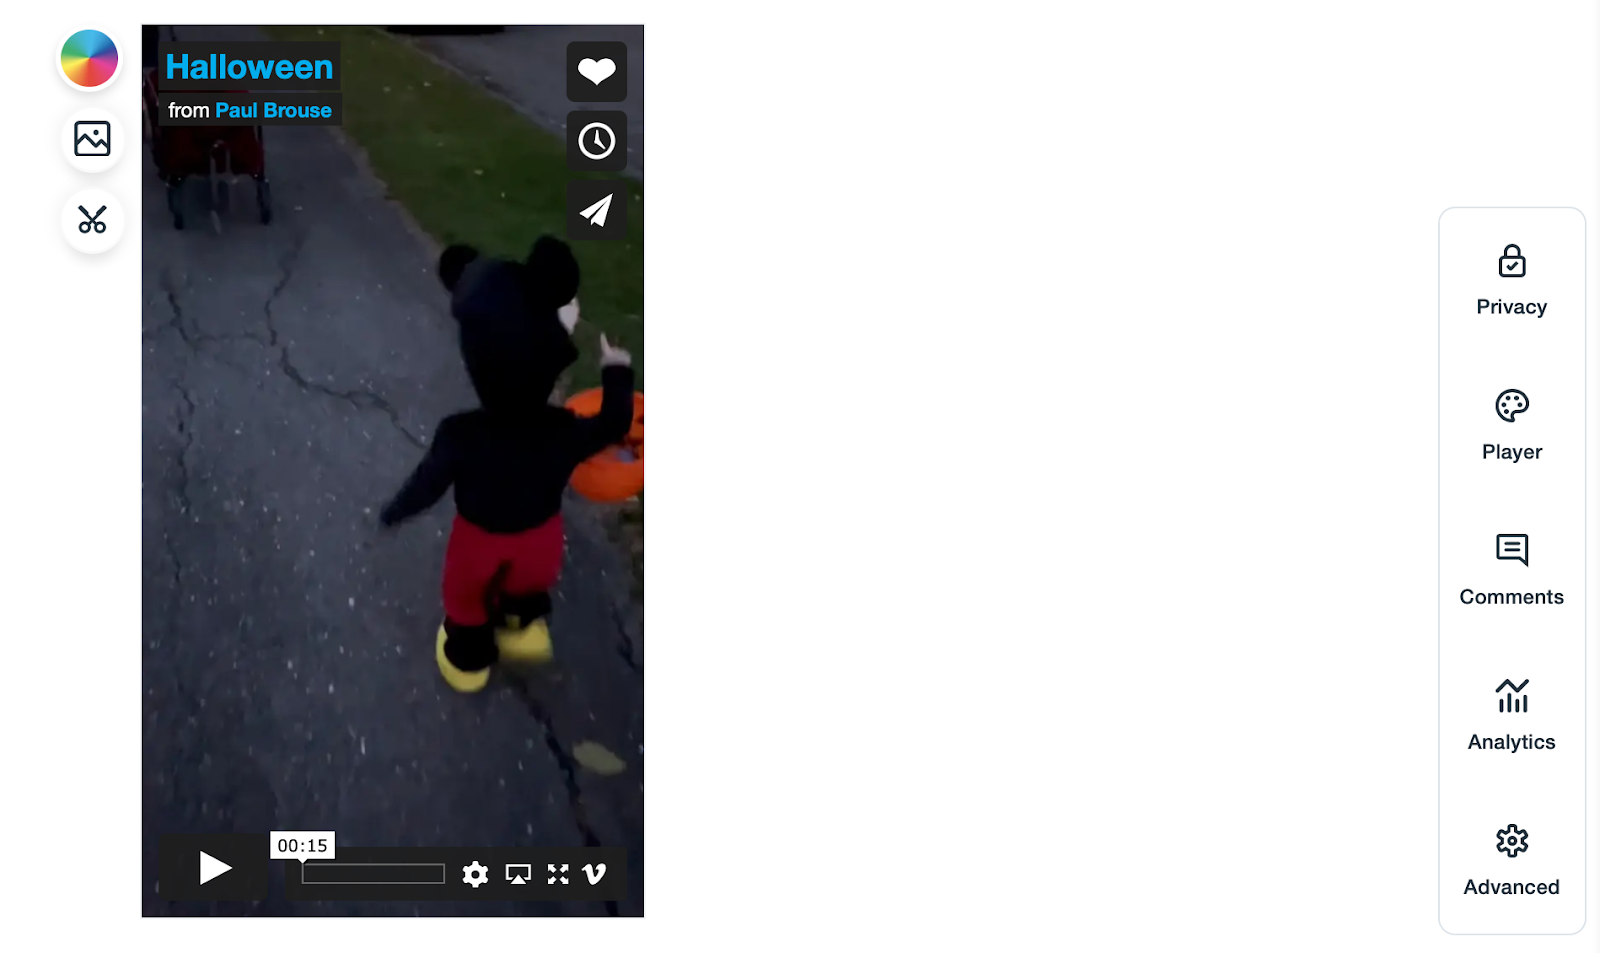
Clicking on the advanced settings, you will be brought to a window where you can enter a title, description, and other information. Go ahead and fill in as much or as little of this information as you’d like.
The important key here is the tab on the left side of the screen that says “Distribution.” Click on this tab, then you will see an option for Subtitles. Click it.

Step 3
After clicking on the Subtitles option under the Distribution tab, you will see quite a bit of information. The important piece is the ‘My Uploads’ option under the Captions and Subtitles heading. Right now this should be blank, so we need to click the ‘+’ next to My Uploads to add our SRT file. You will choose your language and the file.
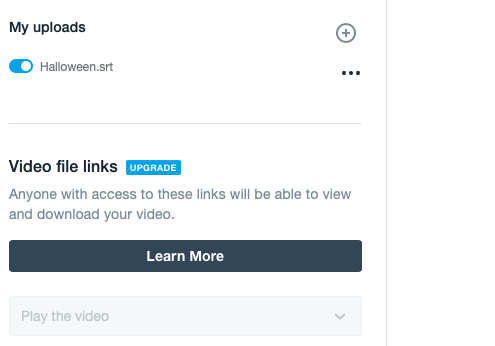
The important note here is to make sure that the toggle switch to the left of your uploaded file is enabled, as seen in the above screenshot. It should be blue, if it is gray then it is disabled and needs to be switched on. Once this is done, click the blue ‘Save’ button at the bottom.
Final Thoughts
That’s all there is to it! Your video is now uploaded to Vimeo and has accurate subtitles included for the user to toggle on and off as they wish.
About this Guide
This is an attempt to build the definitive guide on various topics related to dictation, transcription & recording.
Start Transcribing Now Guide Home